
For medium-to-large quantities of data, using Microsoft Excel’s AutoFilter is a quick and simple way to filter through that information and find what you need.
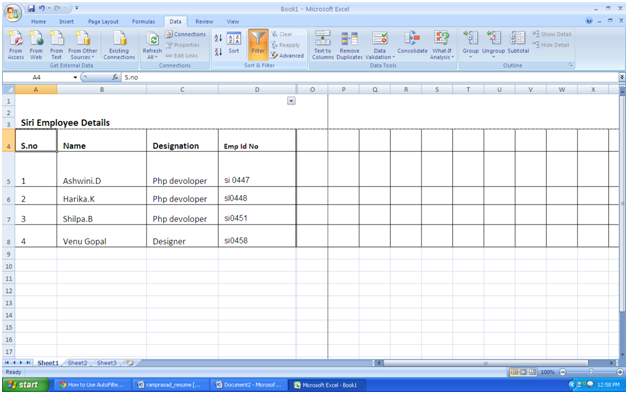
Input all of your data, or open the spreadsheet that contains all of your data. It is best that your data have column heading such as categories to specify the data below it. If you don’t already have these, input them before the filter.
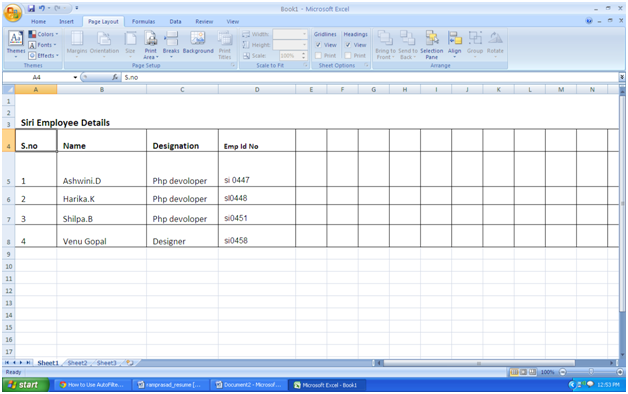
Select all the data you wish to filter.
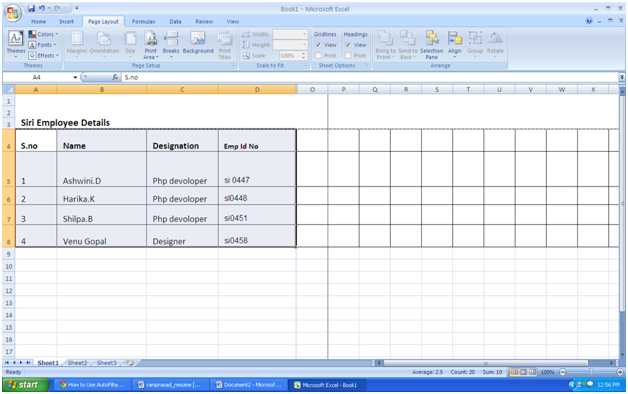
- Because the AutoFilter option is an automatic process that does not receive any specific inputs on how to filter, it is recommended that you choose ‘’all’’ of the data you have. This will avoid the possibility to loose data associations across rows and/or columns.
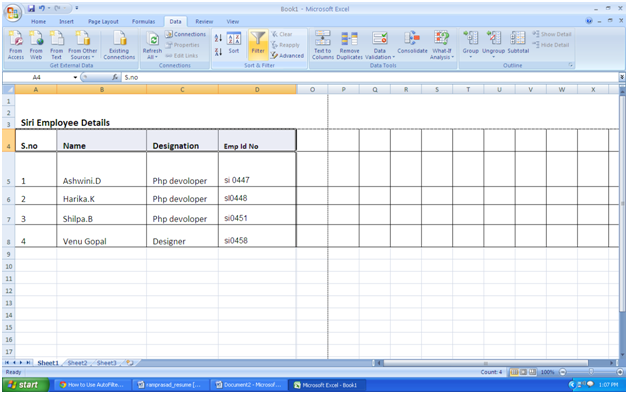
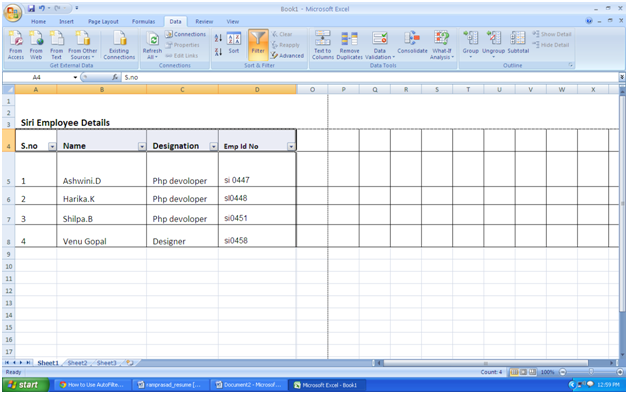
Click “Data”, then select “F
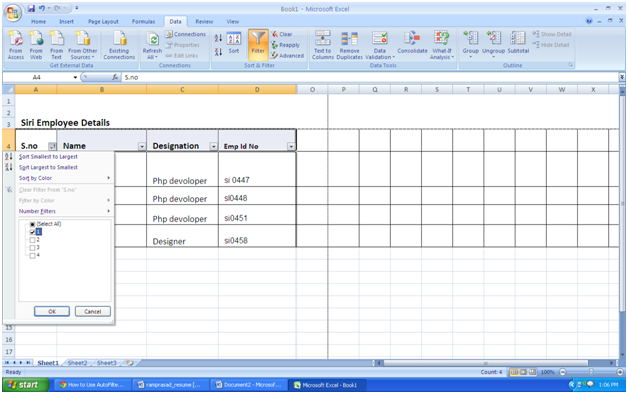
You will immediately notice that the categories have drop-down buttons. Using these buttons, you can set your filter options.
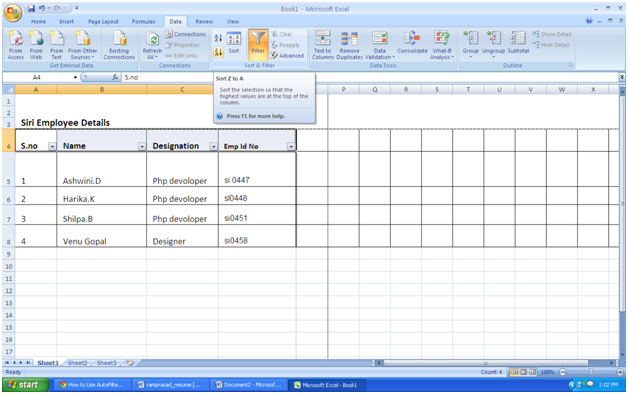
Sort Ascending: Sorts data in ascending order based on the data in that column; numbers are sorted 1, 2, 3, 4, 5, etc. and words are sorted alphabetically starting with a, b, c, d, e, etc.

Sort Descending: Sorts data in descending order based on the data in that column; numbers are sorted in reverse order 5, 4, 3, 2, 1, etc. and words are sorted in reverse alphabetical order, e, d, c, b, a, etc.
Top 10: The first 10 rows of data in your spreadsheet (when initial setting is “All”) or the first 10 rows of data from the filtered selection

Custom: You may customize how Excel sorts the data based on data ranges and information.
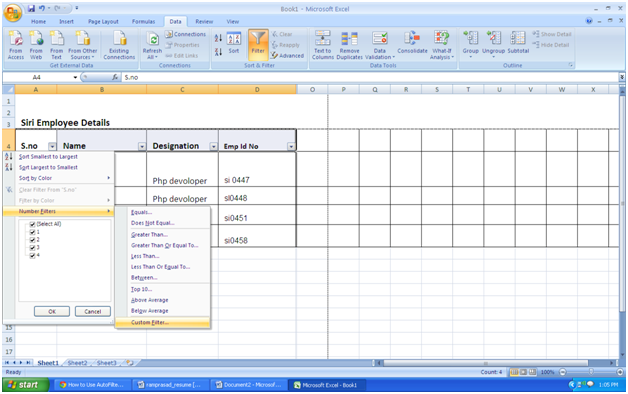
Various data points: You may sort the data based on all other data points in that column. Excel combines data points that are the same. For example, employees that live in the same city can be sorted using only one data point
To turn off AutoFilter, repeat step 3 to uncheck the AutoFilter option.